(1) Material Preparation List (Safety Material Selection Guide)
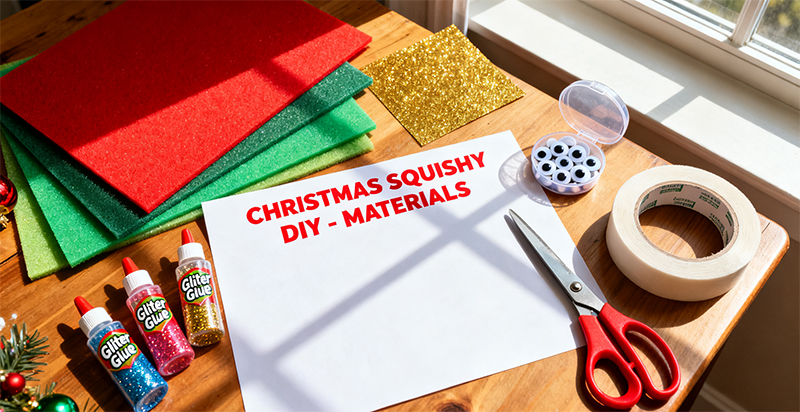
The first step to making an ultra-cute Christmas squishy is to prepare the materials. For everyone, especially children, to make it safely and happily, material selection is crucial.
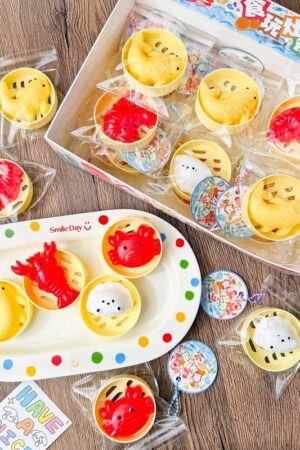
For parent-child DIY activities, where participants are mostly children aged 6 and above and their parents, a jelly wax material kit is a very suitable basic material, with a reference price starting from 83.86 yuan. This material kit usually includes 6 colors of basic wax to meet people’s diverse color needs, as well as Christmas-themed molds (such as classic Santa Claus and snowman shapes)—the Christmas atmosphere is instantly felt as soon as you get it. The matching temperature-controlled heating furnace can accurately control the temperature, ensuring the safety of the production process.
Food-grade silicone molds are also essential; they ensure that the made squishies are non-toxic and harmless, so children can play with confidence. For natural pigments, just choose three colors: red, green, and gold. Red is the color of Santa’s clothes, green represents Christmas trees, and gold symbolizes the brilliance of Christmas decorations—this combination is full of Christmas vibes. Prepare a pair of non-slip gloves to protect your hands from burns when operating the heating furnace.
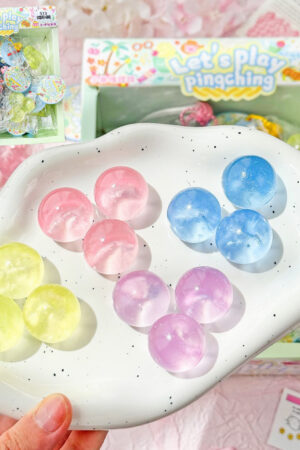
If you are a handcraft enthusiast who wants to take on a greater challenge and make more creative squishies, you can choose TPR (Thermoplastic Rubber) soft rubber particles. These particles are environmentally friendly and non-toxic, and have passed the EU EN71 certification, so there is no need to worry about safety. To make the squishy more shiny, like reflecting sunlight in the snow, you can add glitter or gold foil flakes. You can also add a few drops of aromatherapy essential oils, such as pine or cedar scents—every squeeze makes you feel as if you are in a snow-covered Christmas forest.
It is particularly important to remind that during the production process, you must avoid using traditional formula materials containing borax. Such materials may cause harm to human health, especially posing safety risks for children after contact. When purchasing materials, prioritize finished material kits marked with “suitable for children” and “non-toxic certification” to ensure the safety of production and play from the source.
(2) Step-by-Step Production Tutorial (Including Pitfall-Avoidance Tips)
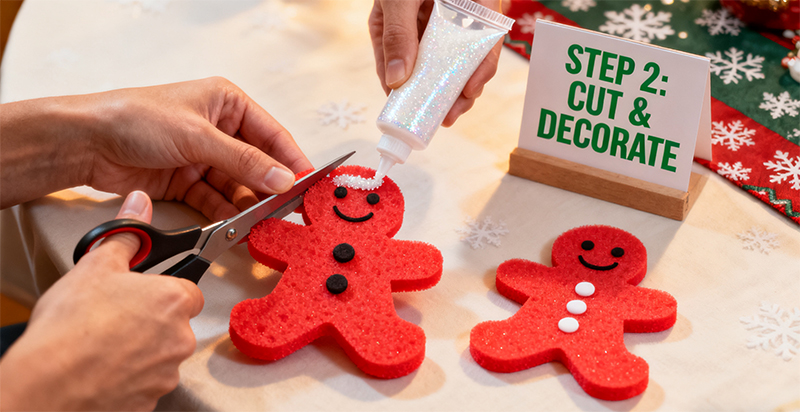
With materials ready, you can start making. Even beginners with zero experience can easily make excellent Christmas squishies by following these steps.
First, melt the jelly wax. Put the jelly wax blocks into the heating furnace, set the temperature to 60°C, and let them melt slowly at a constant temperature. This temperature not only ensures that the wax blocks melt smoothly but also prevents the wax from turning yellow due to excessive temperature, which affects the appearance. After the wax blocks are completely melted, add 1-2 drops of natural pigment and stir gently with a small stirring rod until the color is evenly distributed—like putting a beautiful Christmas coat on the wax liquid. Note here: do not stir too vigorously, otherwise, too many bubbles will be generated, affecting the texture of the finished product.
Next is mold shaping. Apply a thin layer of olive oil on the inner wall of the silicone mold—this is a small trick that makes demolding much easier. After applying the oil, slowly pour the colored wax liquid into the mold, filling it to 80% full. If you fill it too full, it will easily overflow during subsequent operations. Before the wax liquid solidifies, quickly sprinkle glitter on it. The sparkling glitter is like stars in the night sky, instantly adding a festive dreamy feeling to the squishy. After sprinkling the glitter, gently tap the mold to release the bubbles inside, so that the surface of the made squishy will be smooth and flat. If you plan to make a pendant, insert the hidden lanyard at this time, and make sure it is placed correctly; otherwise, it will hang crookedly and look unattractive.
Then comes the cooling and demolding stage. Place the mold filled with wax liquid at room temperature and let it stand for 2 hours to cool and solidify naturally. Do not be in a hurry during this time; wait patiently. If you demold in advance, the squishy will deform before it takes shape. After it is completely solidified, gently lift the edge of the mold— a three-dimensional and plump squishy is born! If you encounter difficulties in demolding, do not force it; put the mold in the refrigerator for 10 minutes to allow the wax to shrink, and then demolding will be much easier.
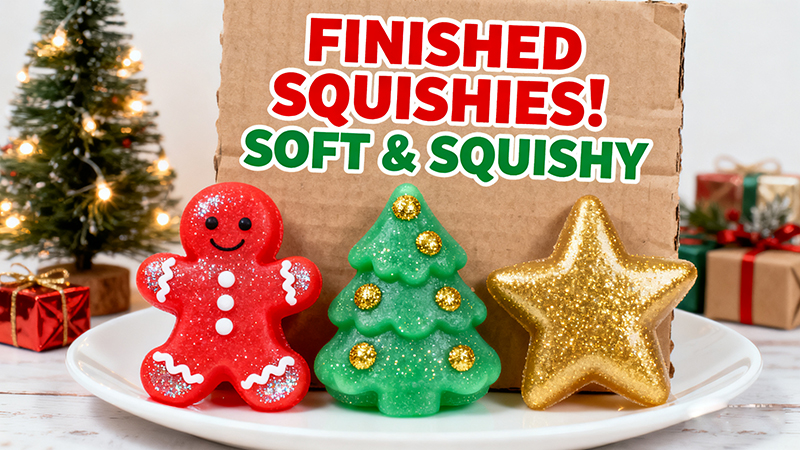
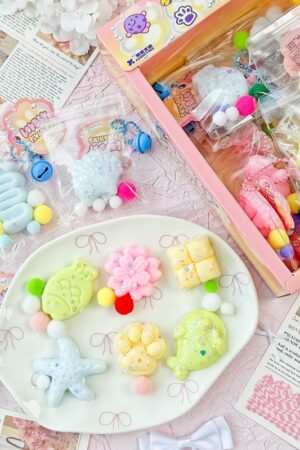
Finally, add detailed decorations. Use acrylic paint to draw details such as the snowman’s scarf and reindeer’s antlers on the squishy. These small decorations can instantly make the squishy vivid. For example, drawing a colorful scarf for the snowman makes it look like it is dancing happily in the snow. You can also directly stick mini bells or ribbons on it—shake it gently, and the bells make a crisp sound, filling the air with a strong Christmas atmosphere. After decoration, put the squishy into a PVC gift bag and match it with a handwritten Christmas card. A delicate and heartfelt gift is ready, which is perfect for giving to friends or family.