Beyond trick-or-treating and dressing up as ghosts, making your own soft, squishy Halloween toys by hand is a lovely little joy that amplifies the festive vibe! No complicated tools are needed – just use common materials you can find at home, and you’ll create squishy toys that are fun to squeeze, play with, and even use as decorations. They’re perfect for parent-child bonding or relieving stress alone. Today, we’ll teach you 3 foolproof Halloween squishy DIY projects – let’s get crafting!
I. Pre-DIY Essential: Material Preparation List


First, gather all materials, which are divided into “Basic Version” and “Advanced Version”. Beginners can start with the Basic Version, while experienced crafters can take on the Advanced Version. All materials are easily available at supermarkets or stationery stores!
Basic Version Materials (Suitable for Beginners/Parent-Child)
- Outer Containers: Balloons (thickened ones are preferred for durability), small transparent sealable bags (choose ones with good toughness).
- Fillings: All-purpose flour (regular medium-gluten flour works; it’s fine and won’t clump), cornstarch (add a little for a bouncier texture), cotton (for fluffy squishies).
- Coloring & Decoration: Food coloring (orange, black, purple – classic Halloween colors), googly eyes (1cm-2cm size for extra cuteness), green pipe cleaners (for pumpkin stems or ghost streamers), black markers (for drawing faces).
- Auxiliary Tools: Spoon (for scooping flour), small bowls (for mixing coloring), tape (for sealing), scissors (for cutting pipe cleaners).
Advanced Version Materials (Suitable for Craft Enthusiasts)
- Alternative Outer Layers: Super-light clay (skin tone, black – for 3D shapes), glow-in-the-dark powder (add a little for nighttime glow).
- Special Fillings: Water beads (use after soaking; they create a granular texture when squeezed), scented beads (add a little for a pleasant fragrance when squeezed).
- Upgraded Decorations: Silver glitter (sprinkle on the surface for a sparkling effect), mini Halloween stickers (bat, spider web designs).
II. Tutorials for 3 Adorable Halloween Squishy Toys
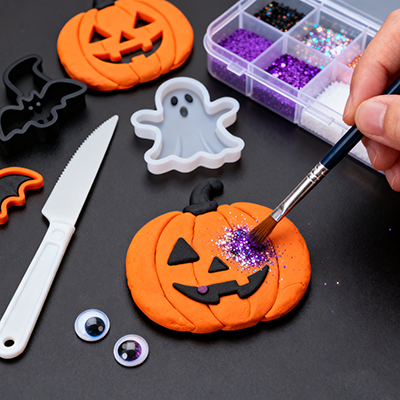
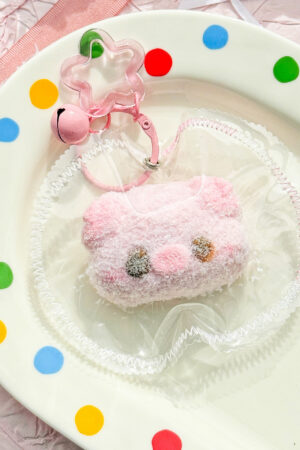
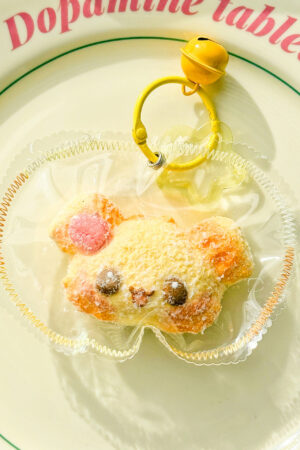
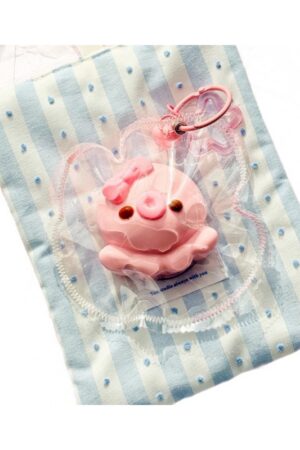
1. Classic Style: Round Pumpkin Squishy (Beginner-Friendly)
Highlights: Cute shape, simplest steps, perfect for parent-child crafting. The finished product works great as a small desktop decoration!
Steps:
- Prepare the “pumpkin filling”: Take a bowl of flour (about 100g), add 3-4 drops of orange food coloring, and stir well with a spoon until the flour turns a uniform pumpkin orange. If lumps form, rub them out with your hands.
- Fill the “pumpkin”: Take a yellow or transparent balloon, stretch its opening wide, and slowly scoop the orange flour into it using a spoon. Stop when the balloon reaches a diameter of 5-6cm (roughly the size of a fist) – overfilling will make it too hard to squeeze.
- Seal and shape: Pinch the balloon’s opening, gently shake it to distribute the flour evenly, then tie 2-3 knots around the opening. Use scissors to cut off the excess balloon tail.
- Draw the “pumpkin face”: Use a black marker to draw classic pumpkin features on the balloon surface – triangular eyes and a jagged mouth. Let kids get creative and draw funny faces too!
- Add the “pumpkin stem”: Take a piece of green pipe cleaner, fold it in half, and twist it into a spiral shape. Glue it to the top of the pumpkin (use double-sided tape or hot glue; double-sided tape is safer for parent-child crafting). Your round pumpkin squishy is done!
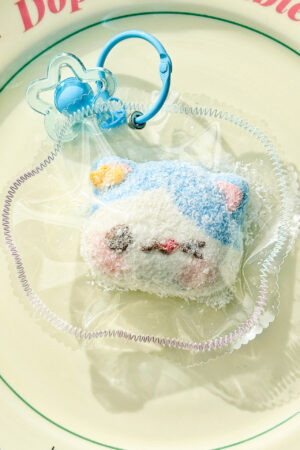
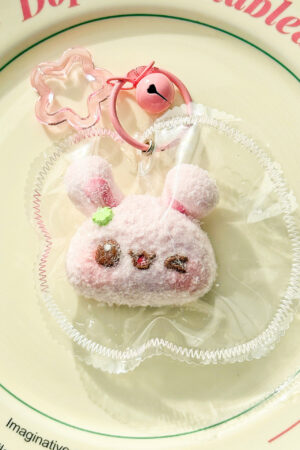
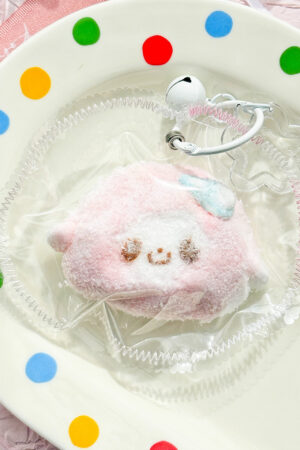
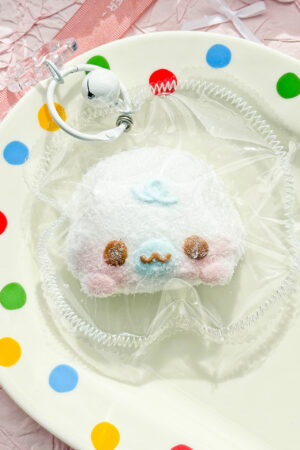
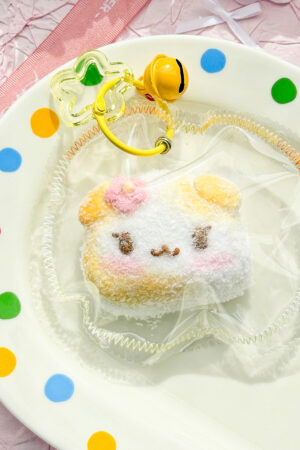
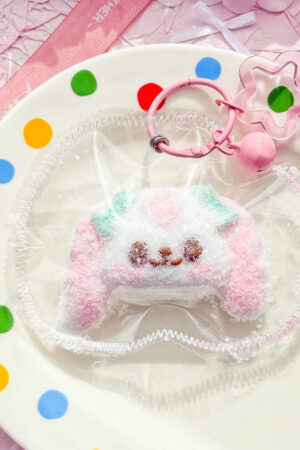
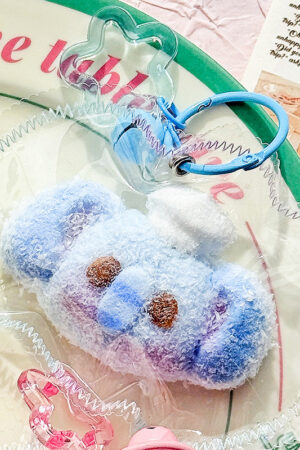
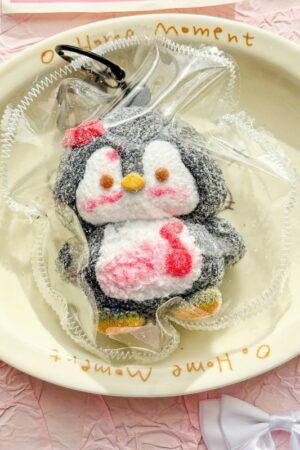
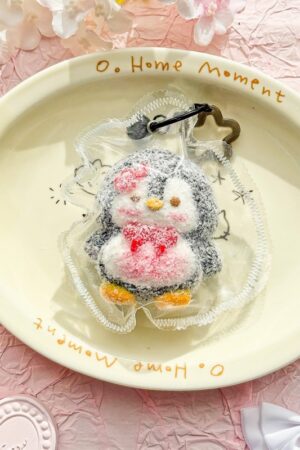
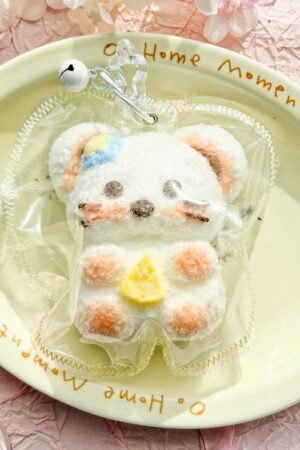
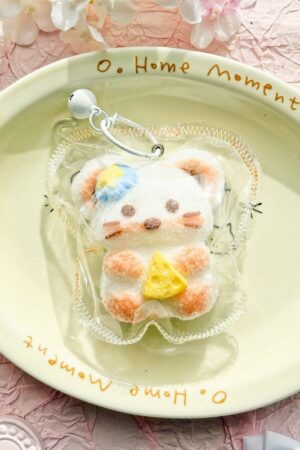
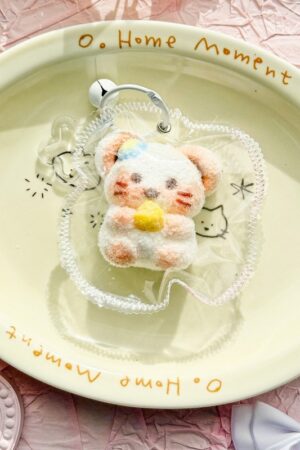
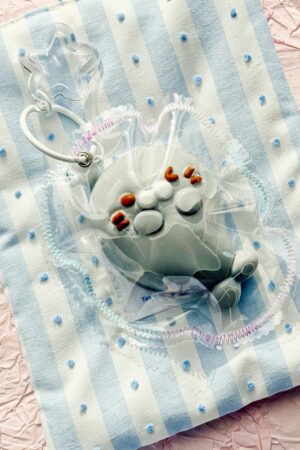
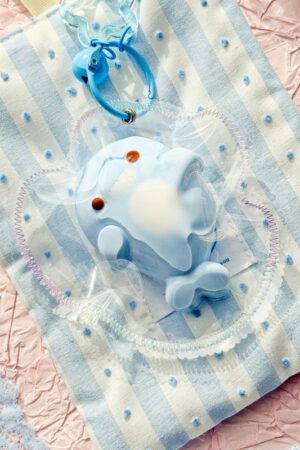
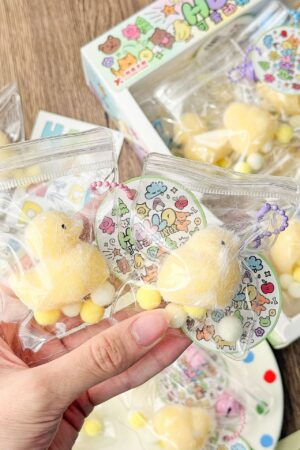
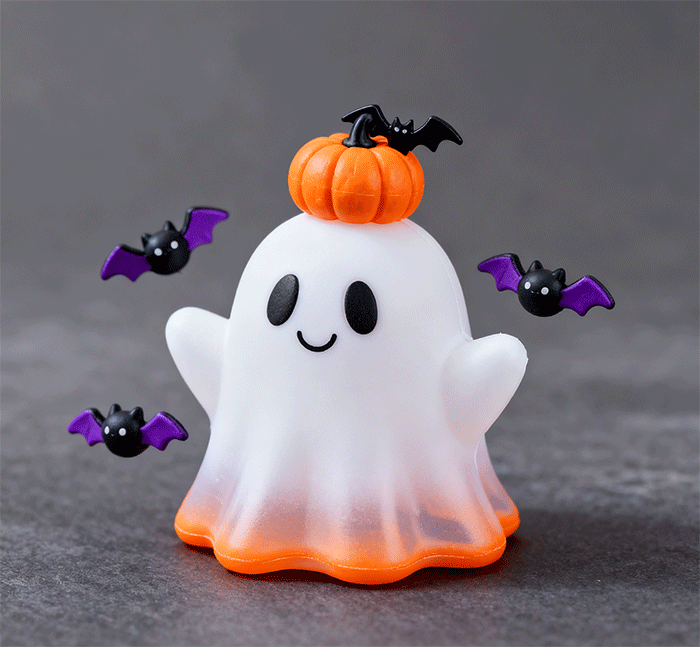
2. Soft Style: Fluffy Ghost Squishy (Stress-Relief Essential)
Highlights: Fluffy and soft texture – squeezing it feels like touching a cloud! It can also be hung on a schoolbag as a charm, perfect for anyone who loves cute styles.
Steps:
- Make the “ghost body”: Take a white sealable bag, put 2 balls of cotton inside (ensure it’s fluffy but not overstuffed to leave room for squeezing), then sprinkle a little white cornstarch (to enhance softness).
- Shape and seal: Pinch the middle of the sealable bag and gently shape it into a “head” and “body” for the ghost. Wrap transparent tape around the “neck” twice to fix the shape, then cut off the excess part of the bag’s opening.
- Decorate the ghost’s face: Stick 2 googly eyes on the “head” (a slightly wider spacing makes it cuter). Use a black marker to draw a small round mouth, or a smiling or tongue-sticking-out expression.
- Add streamers: Take 2 pieces of white pipe cleaner, cut them into 10cm lengths, and stick them on both sides of the ghost’s “body”. Bend them slightly to look like fluttering 衣角 (clothes hems), and you can also stick a little glitter on the pipe cleaners for extra shine.
- Make a charm (optional): Stick a small loop (bent from a pipe cleaner) on the top of the ghost’s head, thread a string through it, and it can be hung on a schoolbag or a room hook!
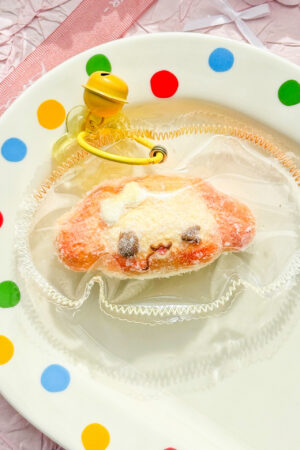
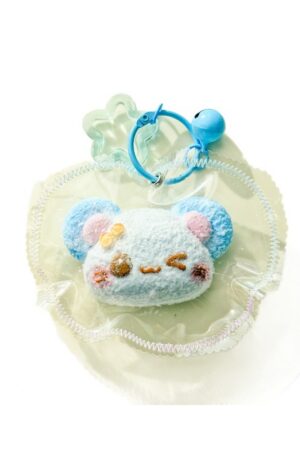
3. Funny Style: Bat Squishy (Advanced Project)
Highlights: 3D shape with movable “wings”, ideal for crafters who love a challenge. The finished product will be a standout decoration on Halloween party tables!
Steps:
- Make the “bat body”: Use black super-light clay to 捏 (knead) an oval shape (about 3cm in diameter) as the bat’s body, then knead a small round ball and stick it on top of the oval to make the head.
- Make the “wings”: Take 2 pieces of black cardboard and cut them into bat wing shapes (wider at the top, narrower at the bottom, with slightly curved edges). Stick a short piece of thin pipe cleaner to the root of each wing, then glue the other end of the pipe cleaner to both sides of the bat’s body – this will make the wings movable.
- Add the “squishy core”: If you want a squeezable texture, replace the bat body with a “balloon core”: fill a black balloon with a small amount of flour (to a diameter of 2cm), tie a knot, then wrap the balloon with black clay, leaving only the “head” on top and the “wing connections” on both sides exposed.
- Add detailed decorations: Stick 2 small black googly eyes on the bat’s head, use a white marker to add tiny white highlights to the eyes, and draw a small triangle with a red marker where the mouth should be (to look like a vampire bat’s sharp little mouth). You can also use a silver marker to draw small patterns on the wings.
- Set the shape: If you used clay, leave the bat in a well-ventilated area to dry for 1-2 hours to prevent deformation. Once dry, squeeze the body – it’s soft and the wings can be moved. So much fun!
III. Advanced Tips: Boost the Halloween Vibe of Your Squishies!
- Add a “glow-in-the-dark effect”: Mix a little glow-in-the-dark powder into the flour or clay. When the lights are off, the pumpkin and ghost squishies will emit a faint glow – super atmospheric!
- Hide a “little surprise”: When filling the balloon with flour, put a small note inside (writing “Happy Halloween” or “There’s candy tonight”). You might feel it occasionally when squeezing, adding extra fun.
- Make “mini versions”: Use small balloons (3cm in diameter) to make mini squishies. String them together to make a Halloween bracelet, or put them in Trick-or-Treat candy bags as small gifts.
- Apply a “waterproof layer”: If you’re worried about flour leaking, brush a layer of transparent nail polish (choose non-toxic) on the balloon surface. Once dry, it will be more durable and dust-resistant.
IV. Safety Tips: Must-Read for Parent-Child DIY!
- When making squishies for babies under 3, avoid small parts (such as googly eyes and small pipe cleaners) to prevent choking. It’s better to draw eyes directly with a marker.
- Prioritize flour and cotton as fillings; avoid water beads (if they break, the small beads pose a choking risk).
- When using scissors or hot glue, parents must supervise the entire process to prevent children from getting hurt.
- Regularly check the finished squishies. If the balloon breaks or the clay cracks, replace the materials promptly to avoid flour spilling.
Conclusion
The joy of Halloween lies in the little details you create with your own hands! These 3 squishy DIY projects don’t cost much, but they fill the holiday with the fun of crafting. Whether you make them with your kids or as a stress-relief activity for yourself, the finished products will bring a great sense of accomplishment – whether displayed at home or taken out. Give them a try! Remember to take photos and share your Halloween squishy creations – you might even become a “craft expert” among your friends!